TRAFFIC INTERCEPTION OVER HTTP AND HTTPS
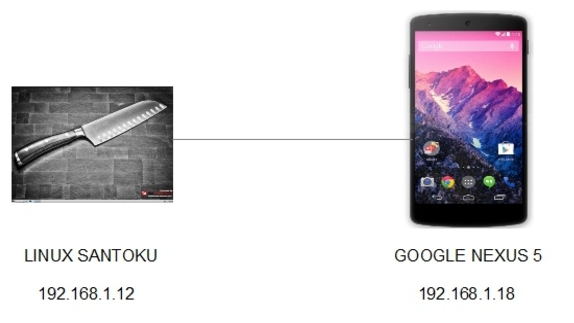
- Layout for this exercise:
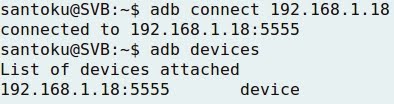
- Connecting Santoku to Nexus 5:
1 - INTERCEPTION OVER HTTP
- Clicking Settings on the Nexus 5 device:

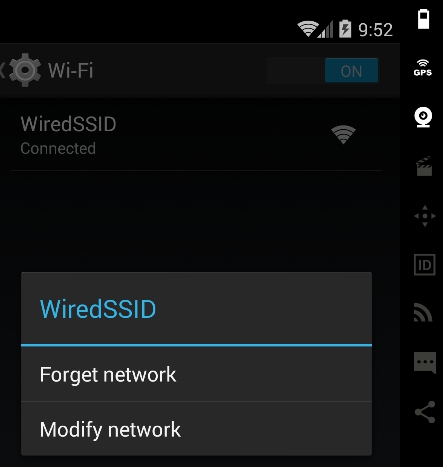
- Going to the Wi-Fi connection:

- Modifying the connection:
- Showing advanced options:

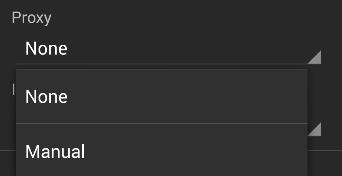
- Enabling Proxy manually:
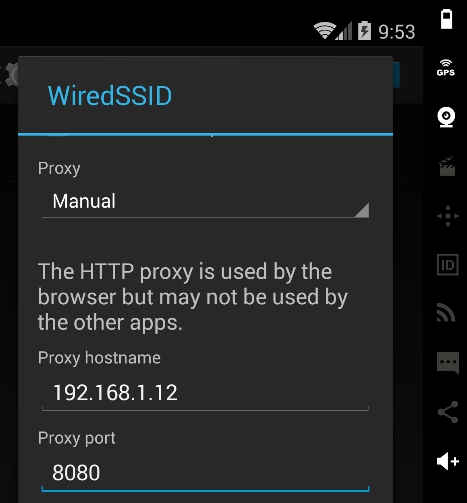
- Entering Santoku's IP (192.168.1.12) and port 8080:
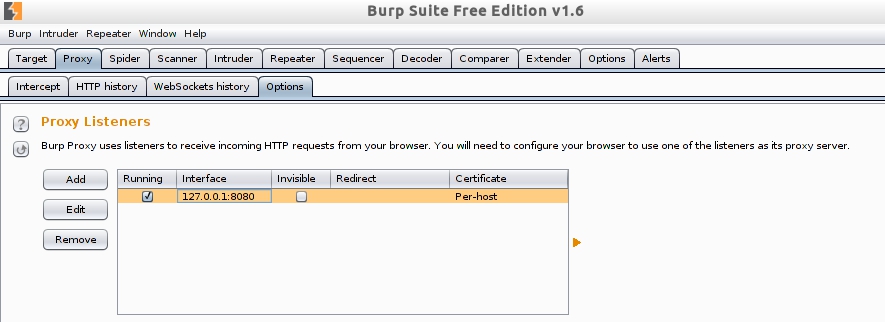
- Starting the Burp suite at Santoku:


- Configuring Options for Burp:
- Editing for listening on all interfaces:
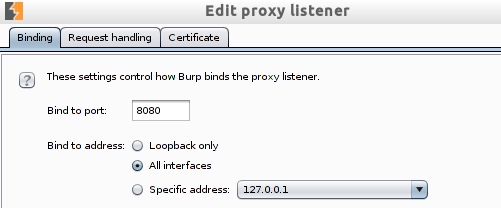
- Editing the listening rules:
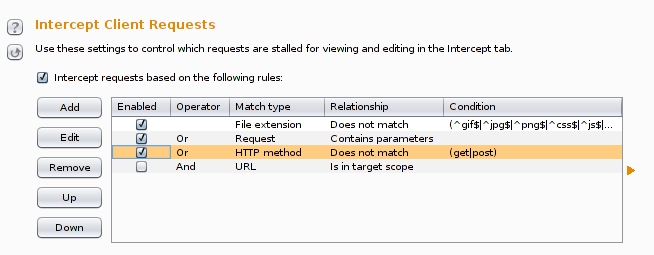
- Enabling the interception (on), the proxy Burp is now ready to read all traffic originated from the Nexus 5 device:

- To check the correct functionalty of the Burp proxy, let's install an application like Any.DO, what sends data to a web server over HTTP:

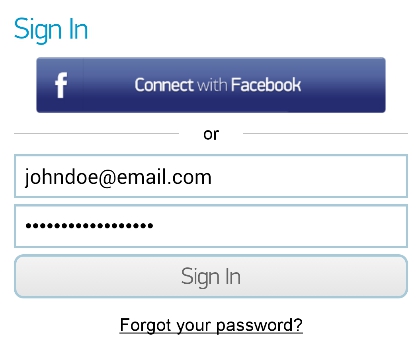
- Starting Any.DO:

- Signing in the application:
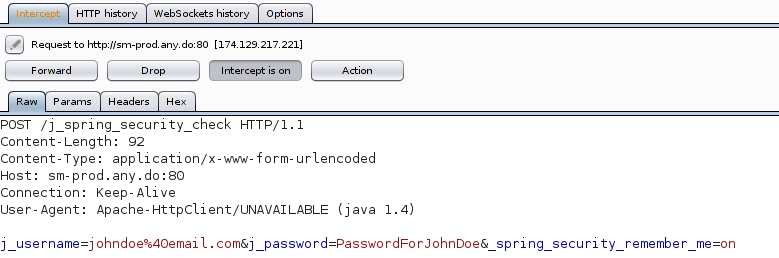
- The interception is successful, because Burp displays both the username and password of the "signing in" process:
2 - INTERCEPTION OVER HTTPS
- For the purpose of intercepting an HTTPS connection a certificate is needed.
- Going to http://burp, there is a tab for downloading the CA Certificate:
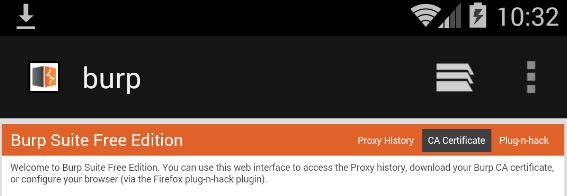
- Dowloading the CA certificate:

- Going to Settings -> Security:


- When trying to install the certificate, there is a cacert.der file at the Downloads folder.
- However, Android needs a differente type of extension (.crt, and not .der) to validate a certificate:


- Going to Santoku, and accessing the Download folder of external storage:

- To make the certificate readable by Android, just renaming the file extension is enough, from cacert.der to cacert.cert:


- Now, going back to Nexus 5, the cacert.crt file is available to be installed:

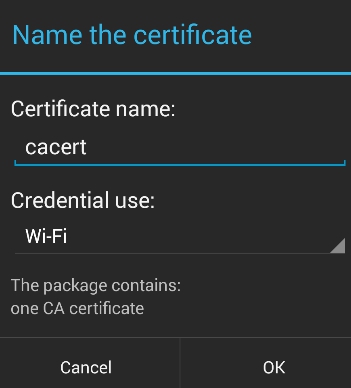
- Giving a name to the certificate:
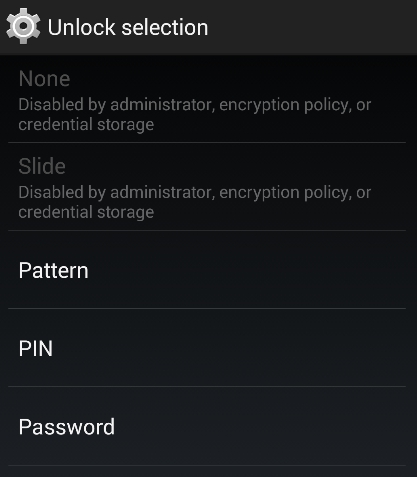
- When trying to perform the installation, a pattern, PIN or password is required:


- Picking up the PIN option:
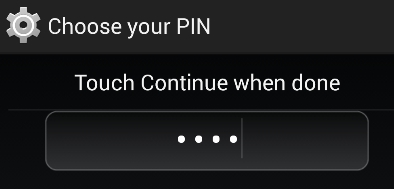
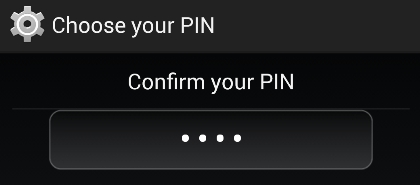
- Chossing a PIN:
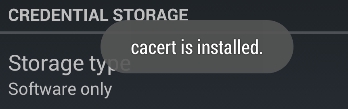
- Finally, the certificate is installed:
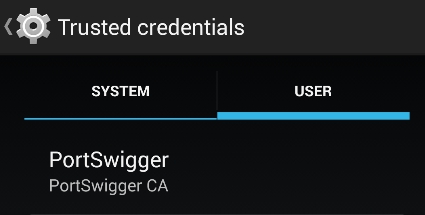
- Going to Trusted credentials (installed by USER), the certificate is available:
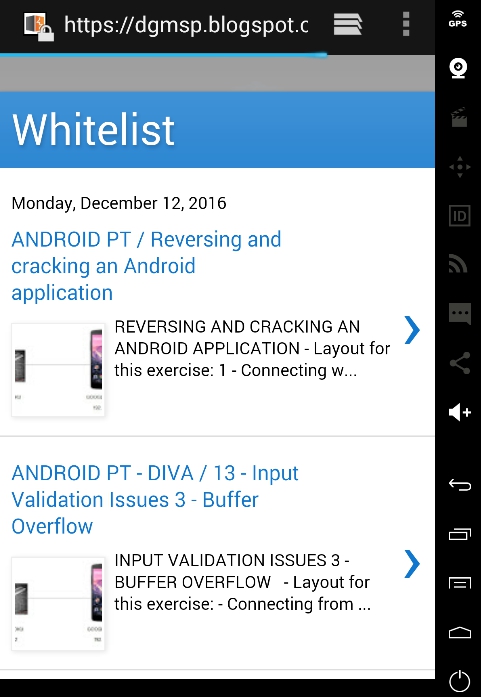
- Now, connecting to a website over an HTTPS connection:
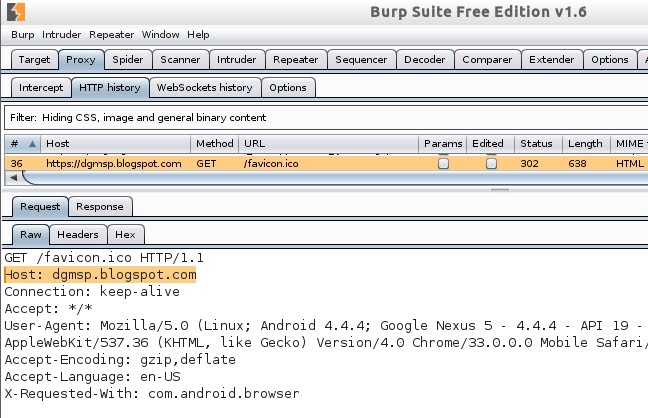
- Burp detects the HTTPS connection:
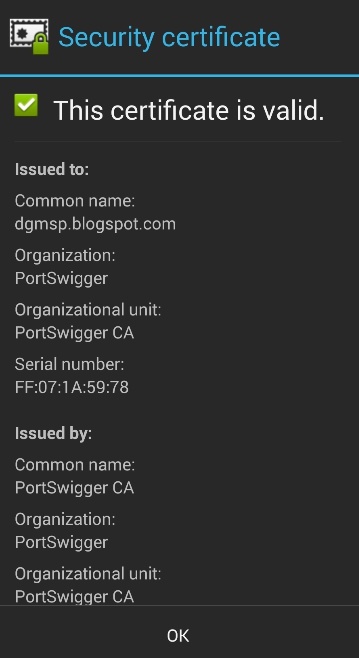
- Checking the features of the HTTPS connection, and clicking the lock icon before the URL:

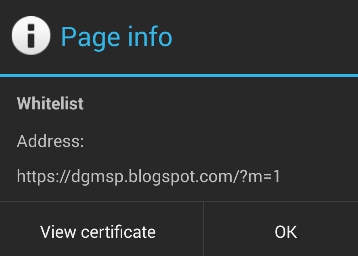
- Viewing the certificate: