AdSense

Friday, August 4, 2017

Microsoft Azure IoT platform (3): visualizing real-time sensor data with Azure Web Apps


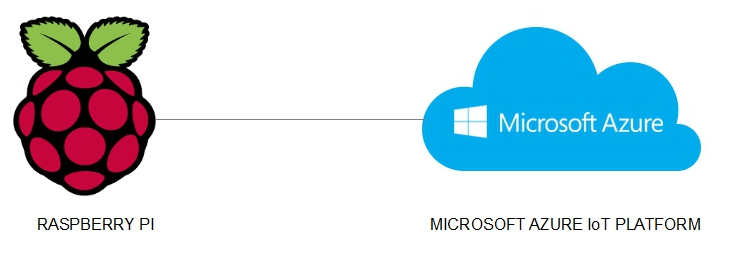
VISUALIZING REAL-TIME SENSOR DATA WITH AZURE WEB APPS

- Layout for this exercise:


* This exercise is based in the previous one


1 - Creating the Web App

- The goal of this exercise is to visualize real-time sensor data received by an IoT hub by running a web application that is hosted on a Web App. 

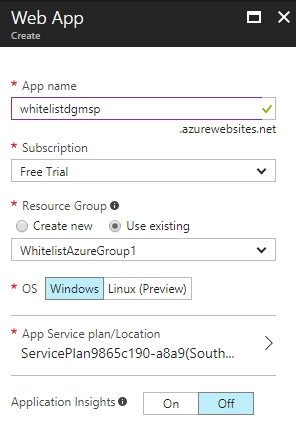
- Starting from the Azure portal, clicking New -> Web + Mobile -> Web App:


- Filling the required data, like App name, Resource Group, etc .. and pinning to the Dashboard:


- The Web App starts the deployment process:


- An URL is generated that later will be used to visualize real-time sensor data:


2 - Adding a consumer group to the IoT hub

- Consumer groups are used by applications to pull data from an Azure IoT Hub.

- Going back to the Azure portal and opening the IoT Hub:


- Clicking Endpoints -> Events:


- Entering a Consumer group name and saving:


3 - Configuring the Web App to read data from an IoT hub

- Opening the Web App:


- Clicking Settings -> Application settings:


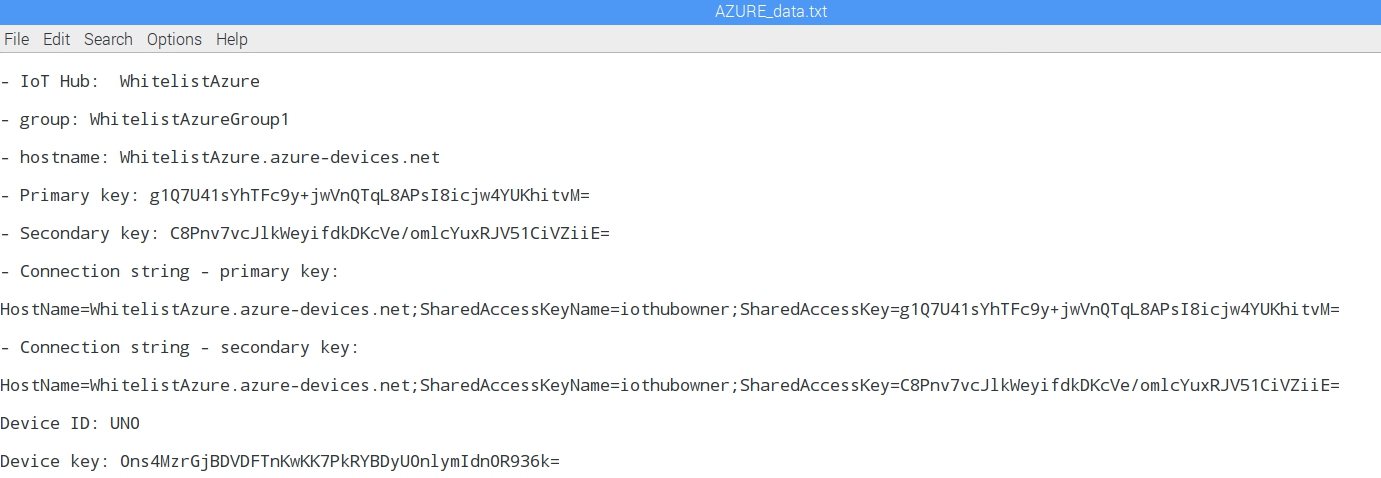
- Entering two key/value pairs. The first one corresponds to the Connection String obtained in previous exercises, the second one refers to the Consumer group name:


- Saving:


- Enabling Web sockets:


- Going to Deployment option -> Choose Source -> Local Git Repository:


- Setting up authentication with username + password:


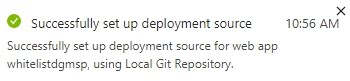
- The Web App is eventually successfully deployed:


- From Overview, let's copy the Git clone URL that will be used later:


4 - Uploading a web application to be hosted by the Web App

- Now, let's go to the Raspberry Pi device and open a terminal window.

- Entering these commands using:

a) Git clone URL from the previous point
b) appropriate authentication credentials (username + passwords) from the previous point


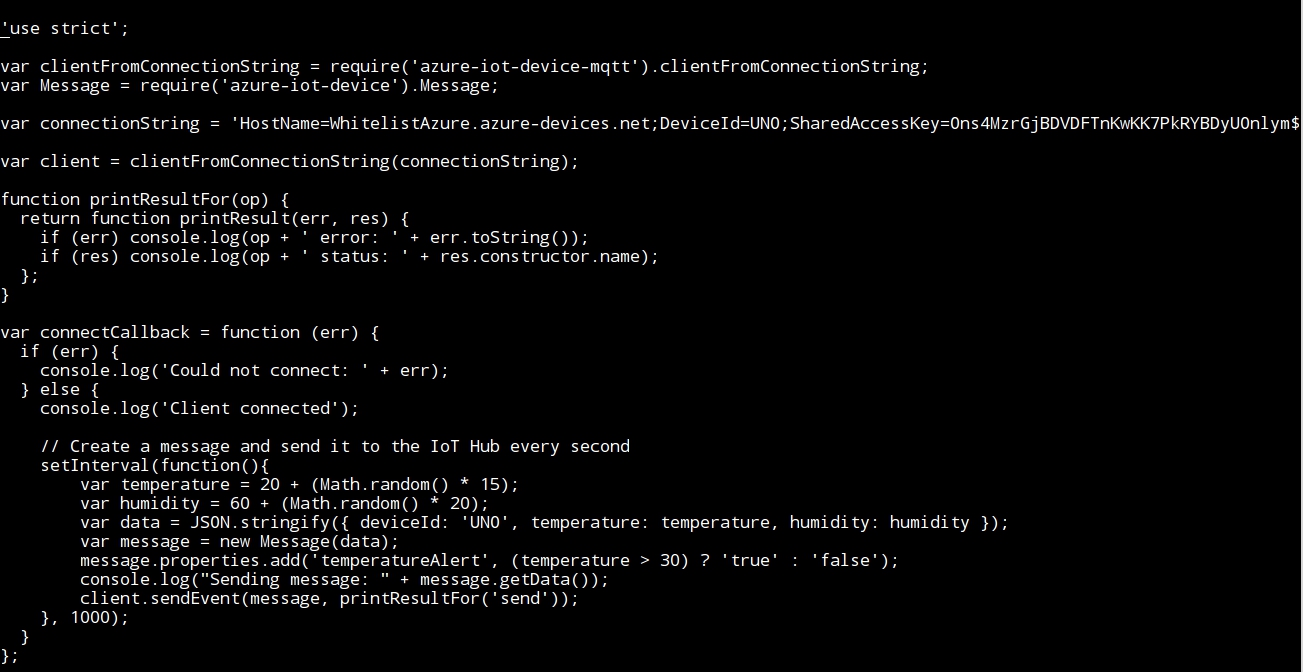
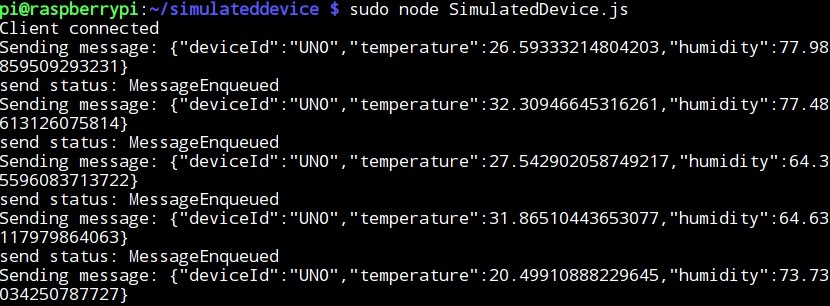
- Running the simulated Temperature/Humidity sensor device:


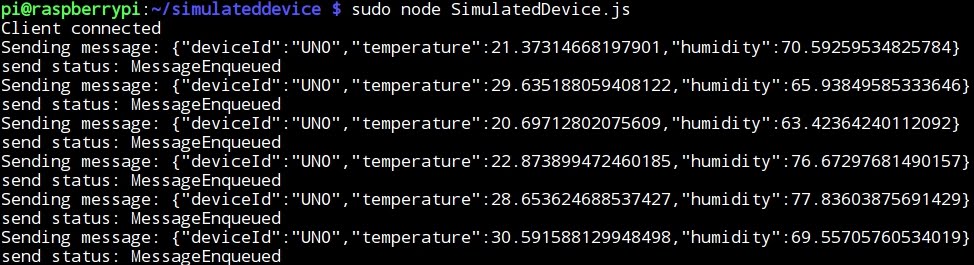
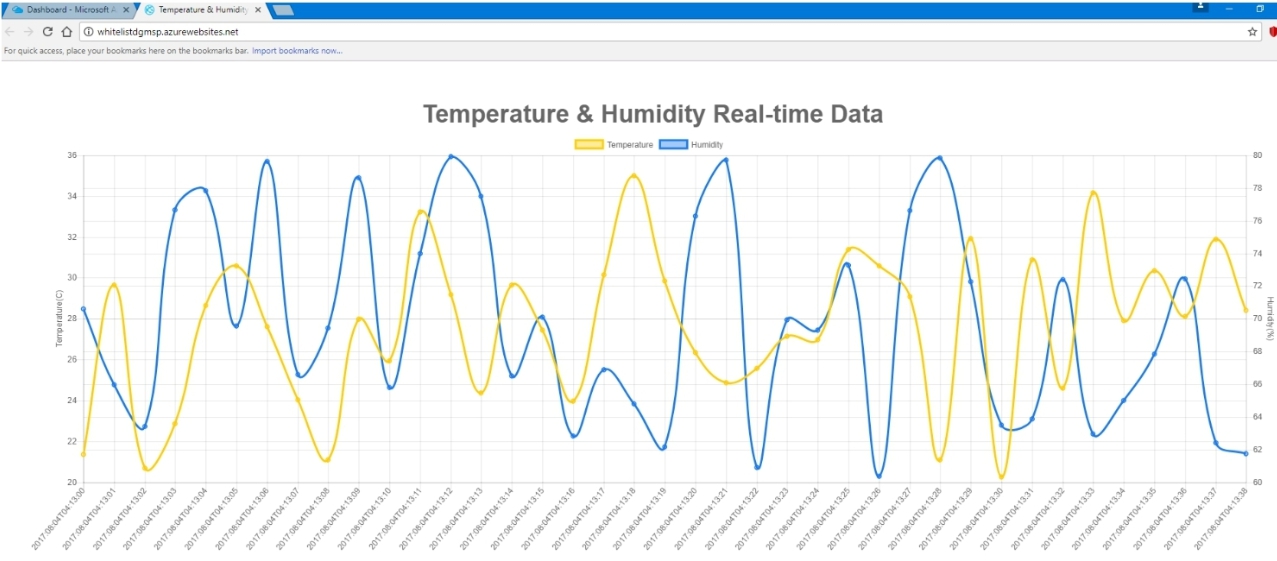
- Browsing the URL generated before:


- Finally, the Temperature/Humidity real-time data generated by the simulated device is visualized:


Thursday, August 3, 2017

Microsoft Azure IoT platform (2): connecting a simulated device to an IoT Hub using Node.js


MICROSOFT AZURE (2): CONNECTING A SIMULATED DEVICE TO AN IoT HUB USING NODE.JS


* This exercise is based on the previous one


1 - Creating a device identity

CreateDeviceIdentity.js creates a device identity and associated security key to connect a simulated device app.

- Running this console app generates a unique device ID and key that the device can use to identify itself when it sends device-to-cloud messages to IoT Hub.

- New folder:


- Checking that node and npm are correctly installed:


- npm creates a json package, just accepting the default options:


- Installing the azure-iothub service SDK package:


- Writing the CreateDeviceIdentity.js file:


- It is important to notice that the variable connection string holds the "connection string - primary key" obtained in the previous exercise:


- Also, the deviceID must be entered:


- Running the program, a new Device key is generated:


- The Device key is written down or copied and added to the document with all the parameters and keys:


2 - Receive device to cloud messages

ReadDeviceToCloudMessages.js displays the telemetry sent by the simulated device app, reading device-to-cloud messages from IoT Hub using the AMQP protocol.

- New folder:


- Creating a new json package file and accepting all the default options:


- Installing azure-event-hubs package and saving it:


- Writing the program ReadDeviceToCloudMessages.js:


- As before, it is important to notice that the connection string key must be introduced in the variable connectionString.


3 - Simulated Device


SimulatedDevice.js connects the IoT hub with the device identity created earlier, and sends a telemetry message every second using the MQTT protocol.

- New folder:


- json package:


- Installing azure-iot-device and azure-iot-device-mqtt:


- Writing the program, and using the connectionString variable with the Device key value originated at the section Create a device identity (point 1 of this exercise):


- All of these parameters must be carefully entered:


4 - Running the application


- To run the two applications a separate console must be used, so that the communication between the simulated device and the IoT hub can be displayed.

- Running SimulatedDevice.js to send telemetry data to the IoT hub:


- Running ReadDeviceToCloudMessages.js to monitor the IoT hub:


Wednesday, August 2, 2017

Microsoft Azure IoT plaftorm (1): deploying an IoT Hub


DEPLOYING AN IoT HUB

- Layout for this exercise:


- The first step to connect a Raspberry Pi device to the Microsoft Azure IoT platform is to create an Azure account. Free and temporary accounts are available here:

https://azure.microsoft.com


- Once entered parameters like name, phone number, password, etc ... , access to the Azure portal is immediate:


- The Dashboard is displayed for managing all the options provided by Microsoft Azure:


- Azure IoT Hub is a fully managed service that enables reliable and secure bi-directional communications between Internet of Things (IoT) devices and a solution back end. 

- One of the biggest challenges that IoT projects face is how to reliably and securely connect devices to the solution back end. 

- To address this challenge, Azure IoT Hub:

a) offers reliable device-to-cloud and cloud-to-device hyper-scale messaging.

b) enables secure communications using per-device security credentials and access control.

c) includes device libraries for the most popular languages and platforms.

- To create an IoT hub, click New -> Internet of Things -> IoT Hub:


- Entering a name, in this case WhitelistAzure:


- Type of service, in this case the free one:


- Naming a group (WhitelistAzureGroup1) and location (West Central US):


- Pinning to the dashboard:


- The deployment starts and after a few minutes the new WhitelistAzure IoT Hub is successfully created:


- The essential information about the newly created IoT hub:


- Clicking Shared access policies:


- As a result of the deployment of the IoT Hub several cryptographic keys have been created:


- It is very important to copy this information and write down all the keys in a secure document for further usage in future steps: